
Reliable Wallpaper Removal and Painting Manhattan NY: 2026 Guide for Staten Island Residents
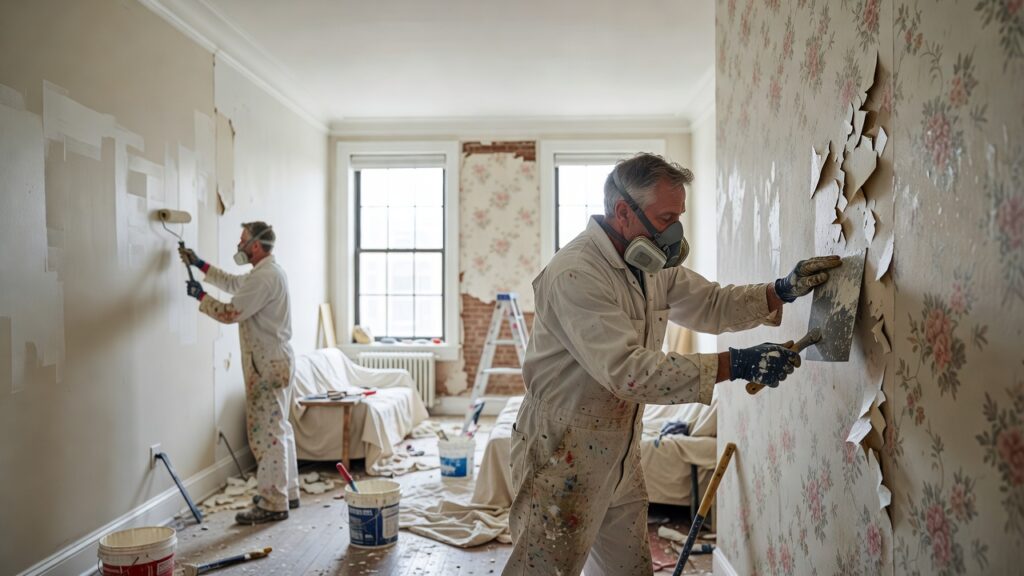
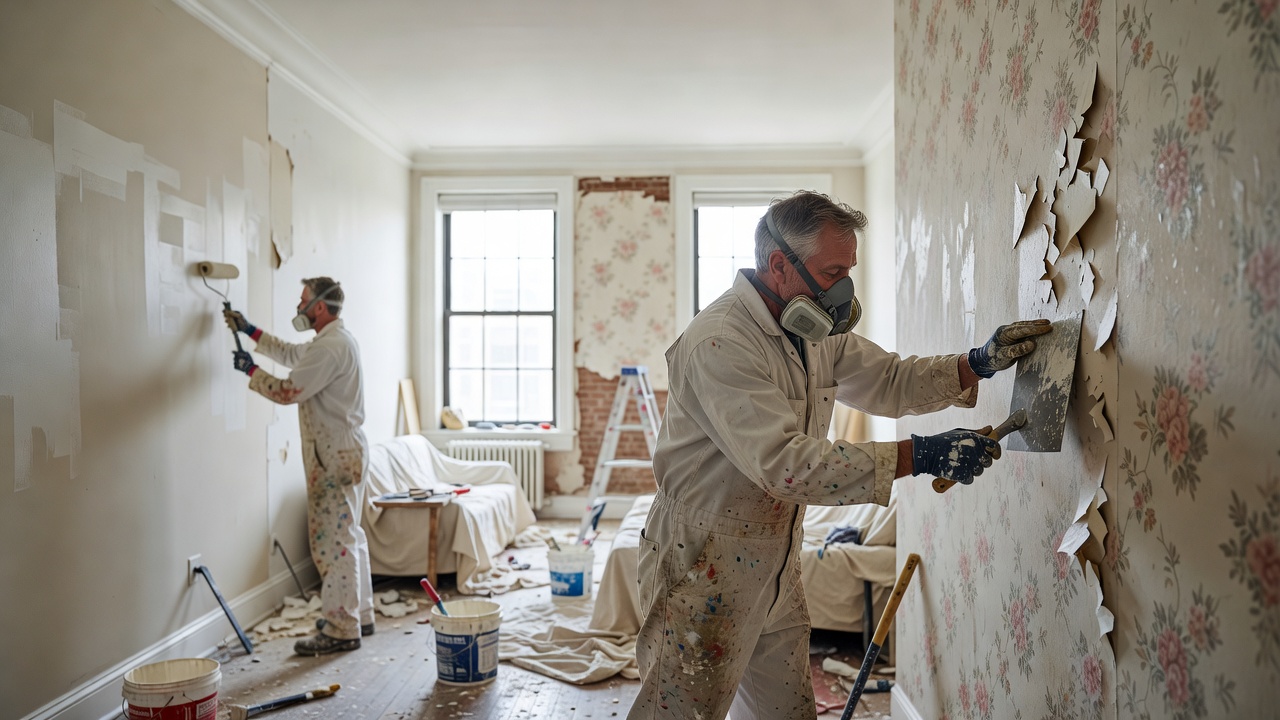
Peeling a strip of old wallpaper and watching it tear into a hundred jagged pieces is a specific kind of frustration one our crew hears about regularly from homeowners across Staten Island who tried to handle it themselves before calling us. Wallpaper removal and painting Manhattan NY projects follow patterns we know well, and those same problems show up in Tudor-style homes in Todt Hill, postwar ranches in Great Kills, and Victorian-era houses along St. Paul’s Avenue. The surface changes; the underlying headaches rarely do. What follows is an honest breakdown of where things go wrong, how we diagnose what we’re actually dealing with, and where the line sits between a confident DIY effort and a job that genuinely needs professional hands.
Problem One: The Wallpaper Won’t Release Cleanly
Symptoms: You score the surface, apply the removal solution, wait, and still find yourself tearing off dime-sized shreds instead of full strips. The drywall paper beneath starts to lift along with the wallpaper facing.
Likely cause: The wall behind the wallpaper was never primed before installation a common shortcut in older Staten Island homes built before the 1980s. Without a proper sizing coat or primer, the adhesive bonds directly to the drywall facing paper. When you pull the wallpaper, you’re essentially delaminating the drywall itself.
Professional fix: We test a small section first, always. If the drywall facing is compromising, we switch from mechanical removal to a skim-coat approach applying a thin layer of joint compound over the remaining wallpaper, sanding smooth, priming with a high-build oil-based primer, and painting over the top. It isn’t ideal, but it preserves wall integrity and avoids a full drywall replacement. On plaster walls, which are common in pre-1950s Staten Island homes, the calcite surface usually releases adhesive more cleanly, though brittle plaster requires gentler chemical solutions and longer dwell time.
Can this be prevented? If you’re installing new wallpaper, insist on a primed surface first. That single step makes future removal dramatically easier.
Problem Two: You Get the Paper Off and the Wall Looks Like a Disaster
Symptoms: Gouges, torn drywall facing, adhesive residue that dries shiny, and uneven texture that catches light at every angle.
Likely cause: Aggressive scoring tools particularly anything set too deep and excessive moisture soaking during removal. DIY rental steamers are effective but forgiving of nothing. Hold one in place two seconds too long and you have a soft spot that tears when you scrape.
Professional fix: Surface prep after wallpaper removal is genuinely the most time-consuming part of any wallpaper removal and painting project, including the Manhattan NY jobs we take on in high-end co-ops and prewar buildings. We skim the entire wall surface, not just the damaged spots, because spot-patching shows through paint especially under raking light near windows. The sequence is: adhesive neutralizer wash, full skim coat, prime with a PVA primer, light sand, second skim where needed, prime again, then paint. This process adds time, but skipping it means the final painted wall will look worse than it did with wallpaper on it.
Can this be prevented? Score lightly. Use a chemical remover with a long dwell time rather than relying on brute force. A pump garden sprayer works better than most applicator sponges for even coverage.
Problem Three: Paint Bubbles or Peels Within Weeks of the Job
Symptoms: The paint job looks fine for the first week, then small bubbles appear near seams or corners, eventually peeling back in arcs.
Likely cause: Residual wallpaper adhesive wasn’t fully neutralized. Old wheat-paste adhesive is particularly problematic — it’s water-soluble when wet but forms an impermeable, slick film when dry. Paint won’t bond to it properly, and moisture in the paint reactivates it just enough to break adhesion. We’ve diagnosed this exact pattern in several Stapleton rowhouses where a previous painter skipped the wash step entirely.
Professional fix: The wall needs to come down to bare, clean substrate. That means washing with a TSP substitute, rinsing, letting the wall dry fully typically 24 to 48 hours in a conditioned space — then priming with an oil-based or shellac-based primer, which bonds over residual adhesive far better than latex. According to the Paint Quality Institute, high-quality primer application is as critical to paint longevity as the topcoat itself, with properly primed surfaces retaining finish for 10 to 15 years versus 3 to 5 years on poorly prepared walls.
Can this be prevented? Never skip the adhesive wash and always let walls dry completely before priming. Use a moisture meter if you’re unsure, we carry one on every job.
Problem Four: The Painted Finish Shows Every Seam and Imperfection
Symptoms: The final coat of paint looks smooth when wet, then dries to reveal a landscape of ridges, lines, and uneven texture every old seam a ghost through the finish.
Likely cause: This is almost always a sheen problem combined with insufficient surface leveling. Eggshell and satin finishes are excellent for durability in high-traffic rooms, but they’re merciless with surface flaws. Flat paint hides imperfections but sacrifices washability. The instinct to apply two coats of paint and call it done after wallpaper removal is where most DIY projects fall short.
Professional fix: Wall leveling is non-negotiable. We use a 10- or 12-inch knife for skim coating and sand with a pole sander between coats. For rooms where a satin or eggshell finish is the goal a kitchen in New Brighton, a bathroom in Annadale we factor in an extra prep day. We also pay close attention to sheen selection by room: flat for ceilings and low-traffic areas, eggshell for bedrooms, satin for kitchens and trim.
Can this be prevented? Plan for wall repair as a standalone phase, not an afterthought before the first coat.
Problem Five: The Old Adhesive Is Reactivating Under Heat or Humidity
Symptoms: Months after painting, sections of the wall develop a soft, slightly tacky feel, or the paint begins to dimple during summer humidity spikes.
Likely cause: Staten Island’s proximity to the water particularly in neighborhoods like St. George and South Beach — means relative humidity inside older homes can climb significantly in July and August. Dormant adhesive residue absorbs ambient moisture and swells slightly beneath the paint film. This is rare when walls were properly neutralized, but common when they weren’t.
Professional fix: At this stage, the painted surface needs to be stripped back, the wall washed and allowed to dry, and reprimed with a shellac-based product like BIN, which creates a true vapor barrier between the adhesive residue and the topcoat. It’s more aggressive than latex primer and costs more, but it’s the right tool for the problem. The EPA’s guidance on indoor VOCs is worth noting here: shellac-based primers have higher VOC content, so we always ensure adequate ventilation and recommend that occupants vacate during application.
Can this be prevented? Run a dehumidifier in the space after removal, before priming. Don’t rush the drying phase in summer months.
What a Homeowner Can Realistically Handle
We’re not here to take work away from confident, capable homeowners. Single-layer wallpaper on a primed surface in a small bedroom that’s a reasonable weekend project with the right chemical remover, patience, and a good pump sprayer. Minor patching on a wall with solid substrate is also manageable. Where it crosses into professional territory is anywhere the drywall facing is compromised, where there are multiple layers of wallpaper, where plaster is involved, or where the wall surface needs full skim coating before paint. Those aren’t judgment calls about ability — they’re about having the tools, materials, and wall knowledge to read what the surface is telling you before you’ve made it worse.
According to HomeAdvisor’s 2024 True Cost Report, professional interior painting in New York City runs 20 to 40 percent above the national average — a real number worth knowing. But factor in the cost of repainting over a failed DIY prep job, and professional work from the start is often the more economical choice on any wall with a complicated history.
Ready to Get It Done Right
Our team at Masterpiece Painting Services has worked on wallpaper removal and painting in Manhattan NY co-ops, Brooklyn brownstones, and Staten Island homes from Tottenville to St. George. We offer free, no-obligation estimates and will tell you honestly what the wall needs — not what makes the estimate look simpler. If you’re staring at a room full of peeling wallpaper and wondering what you’re actually dealing with, reach out to us. We’ll come take a look.
Frequently Asked Questions
How long does wallpaper removal and painting take in a typical Staten Island home?
For an average-sized room — roughly 12 by 14 feet — expect two to four days when done properly. Day one covers removal and adhesive washing. Days two and three cover skim coating, drying, and priming. The final coat of paint goes on once all prep work is confirmed dry and smooth. Rushing any phase is where most problems originate, and older Staten Island homes with plaster walls or multi-layer wallpaper typically need an extra day built in.
Can I paint directly over wallpaper instead of removing it?
It’s possible in limited circumstances — if the wallpaper is fully adhered, seams are tight, and the wall behind it is solid plaster. In most cases, though, we advise against it. Moisture in the paint reactivates the adhesive and causes bubbling, and any seams in the wallpaper will telegraph through the finish over time. If you’re planning to sell the property, buyers and inspectors often flag painted-over wallpaper as a deferred maintenance issue.
Is wallpaper removal and painting in Manhattan NY different from work done in Staten Island?
The core process is the same, but Manhattan projects particularly in prewar co-ops on the Upper West Side or Harlem carry additional logistical requirements around building access, elevator reservations, and board approval for contractor work. New York City’s Department of Buildings requires contractors on buildings with six or more units to carry at least $1 million in general liability insurance per occurrence. Our crew is fully licensed and insured for work across all five boroughs, so compliance is never a concern when you hire us.
Related from Masterpiece Painting NYC: Masterpiece Painting in Brooklyn, NY — Where Every Surface Tells a Sto · Honest Pricing for Painting Services for Co-ops and Condos Manhattan · Home Our Painting Services in Brooklyn, NY — Masterpiece Painting NYC